This post includes affiliate links; I’ll earn a commission on qualifying purchases at no extra cost to you.
When I began, I was amazed at how incredible sourdough bread could be, and I couldn’t believe it only took 1.5 days from start to finish. Plus, I’ve tailored the starter and feed measurements to keep things simple for those who want to bake at least once a week. This recipe is perfect for small households. And here’s the best part, your starter can hang out in the fridge for up to a week before it needs to be fed again, and, if you stick to the baking schedule, guarantees no waste.
Written by a new baker, for new bakers. Dedicated to my friend and neighbor Gabby and all who want to make good sourdough. This recipe is adapted from the legendary Tartine Bakery.
But here’s the real kicker: I’m not just here to give you a recipe and step away. I’m going to share not only my successes but also my failures and experiments along the way. It’s all part of the learning experience, and I want you to learn from my journey, the ups and downs, and ultimately, become a sourdough bread-making pro.
My top beginner tips:
- Embrace the process: At the heart of sourdough bread making is the process itself. Rather than fixating on perfection from the get-go, focus on enjoying the journey and developing a genuine love for crafting your own bread. Your skills will improve with time and practice.
- Improvise with What You Have: Don’t be discouraged by not having all the “proper” baking equipment right away. You can make creative substitutions with items you already have at home. For instance, use a large Tupperware container lined with a kitchen towel as a makeshift banneton or proofing basket. Instead of a fancy Dutch oven, opt for a cast iron plate, a tray of water, and an inverted oven-safe pot. Instead of a bread lame (the razor tool used to score sourdough), use a sharp paring knife or a clean box cutter razor.
- Borrow a Sourdough Starter: To jumpstart your sourdough journey, consider getting a sourdough starter from a friend or a local bakery. This will provide you with immediate gratification when your first loaf comes out of the oven, regardless of whether it looks picture-perfect. I’ve failed three separate times to build my own starter.
Ingredients
- 10g Starter
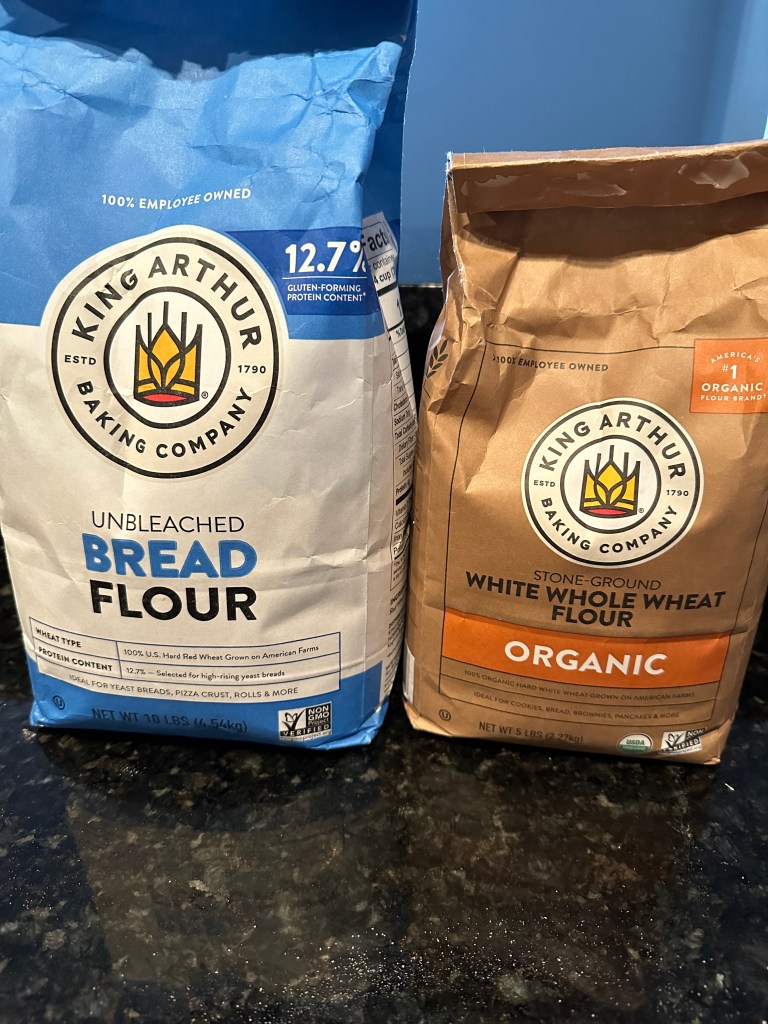
- 35g + 7g for dusting King Arthur Whole Wheat Flour
- 325g + 7g for dusting King Arthur Unbleached Bread Flour
- 250g + 30g filtered or tap water
- 7g Sea Salt or kosher salt
- Optional: rice flour to prepare the banneton or proofing basket
For my local readers, the Pentagon City, VA Costco carries 10 pound bags of bread flour for the same price as a 5lbs bag at Whole Foods.
Equipment
- Large mixing bowl with lid at least 9″ in diameter
- Banneton (Oval with spiral SM), proofing bowl, or tea towel + round Tupperware
- Digital Scale – this doubles as my espresso scale – rated up to 2kg
- Bread lame, sharp knife, or new utility blade to score the dough
- 4.5 qt dutch oven – see note at the bottom if you don’t have one
- Dough and bowl scraper
- Dough mat
- Utensils: Small spatula, spoon, and a fork
- Small bowl or ramekin for the salt water
Day 0 Before Going to Bed
12AM – Feed Starter
- Before going to bed, give your starter a nourishing bedtime snack. Start with 10g of the starter in a old jam jar. Pour in 36g room temp filtered water, followed by 18g of whole wheat flour and 18g of bread flour. Take your small spatula or fork and mix it all up, ensuring you scrape those sides to make sure everything gets along harmoniously. Mark the top of the mixture with a rubber band.
- Tip: add water to the starter jar first and scrape the sides of the jar with the small spatula or spoon before addition of the flour.
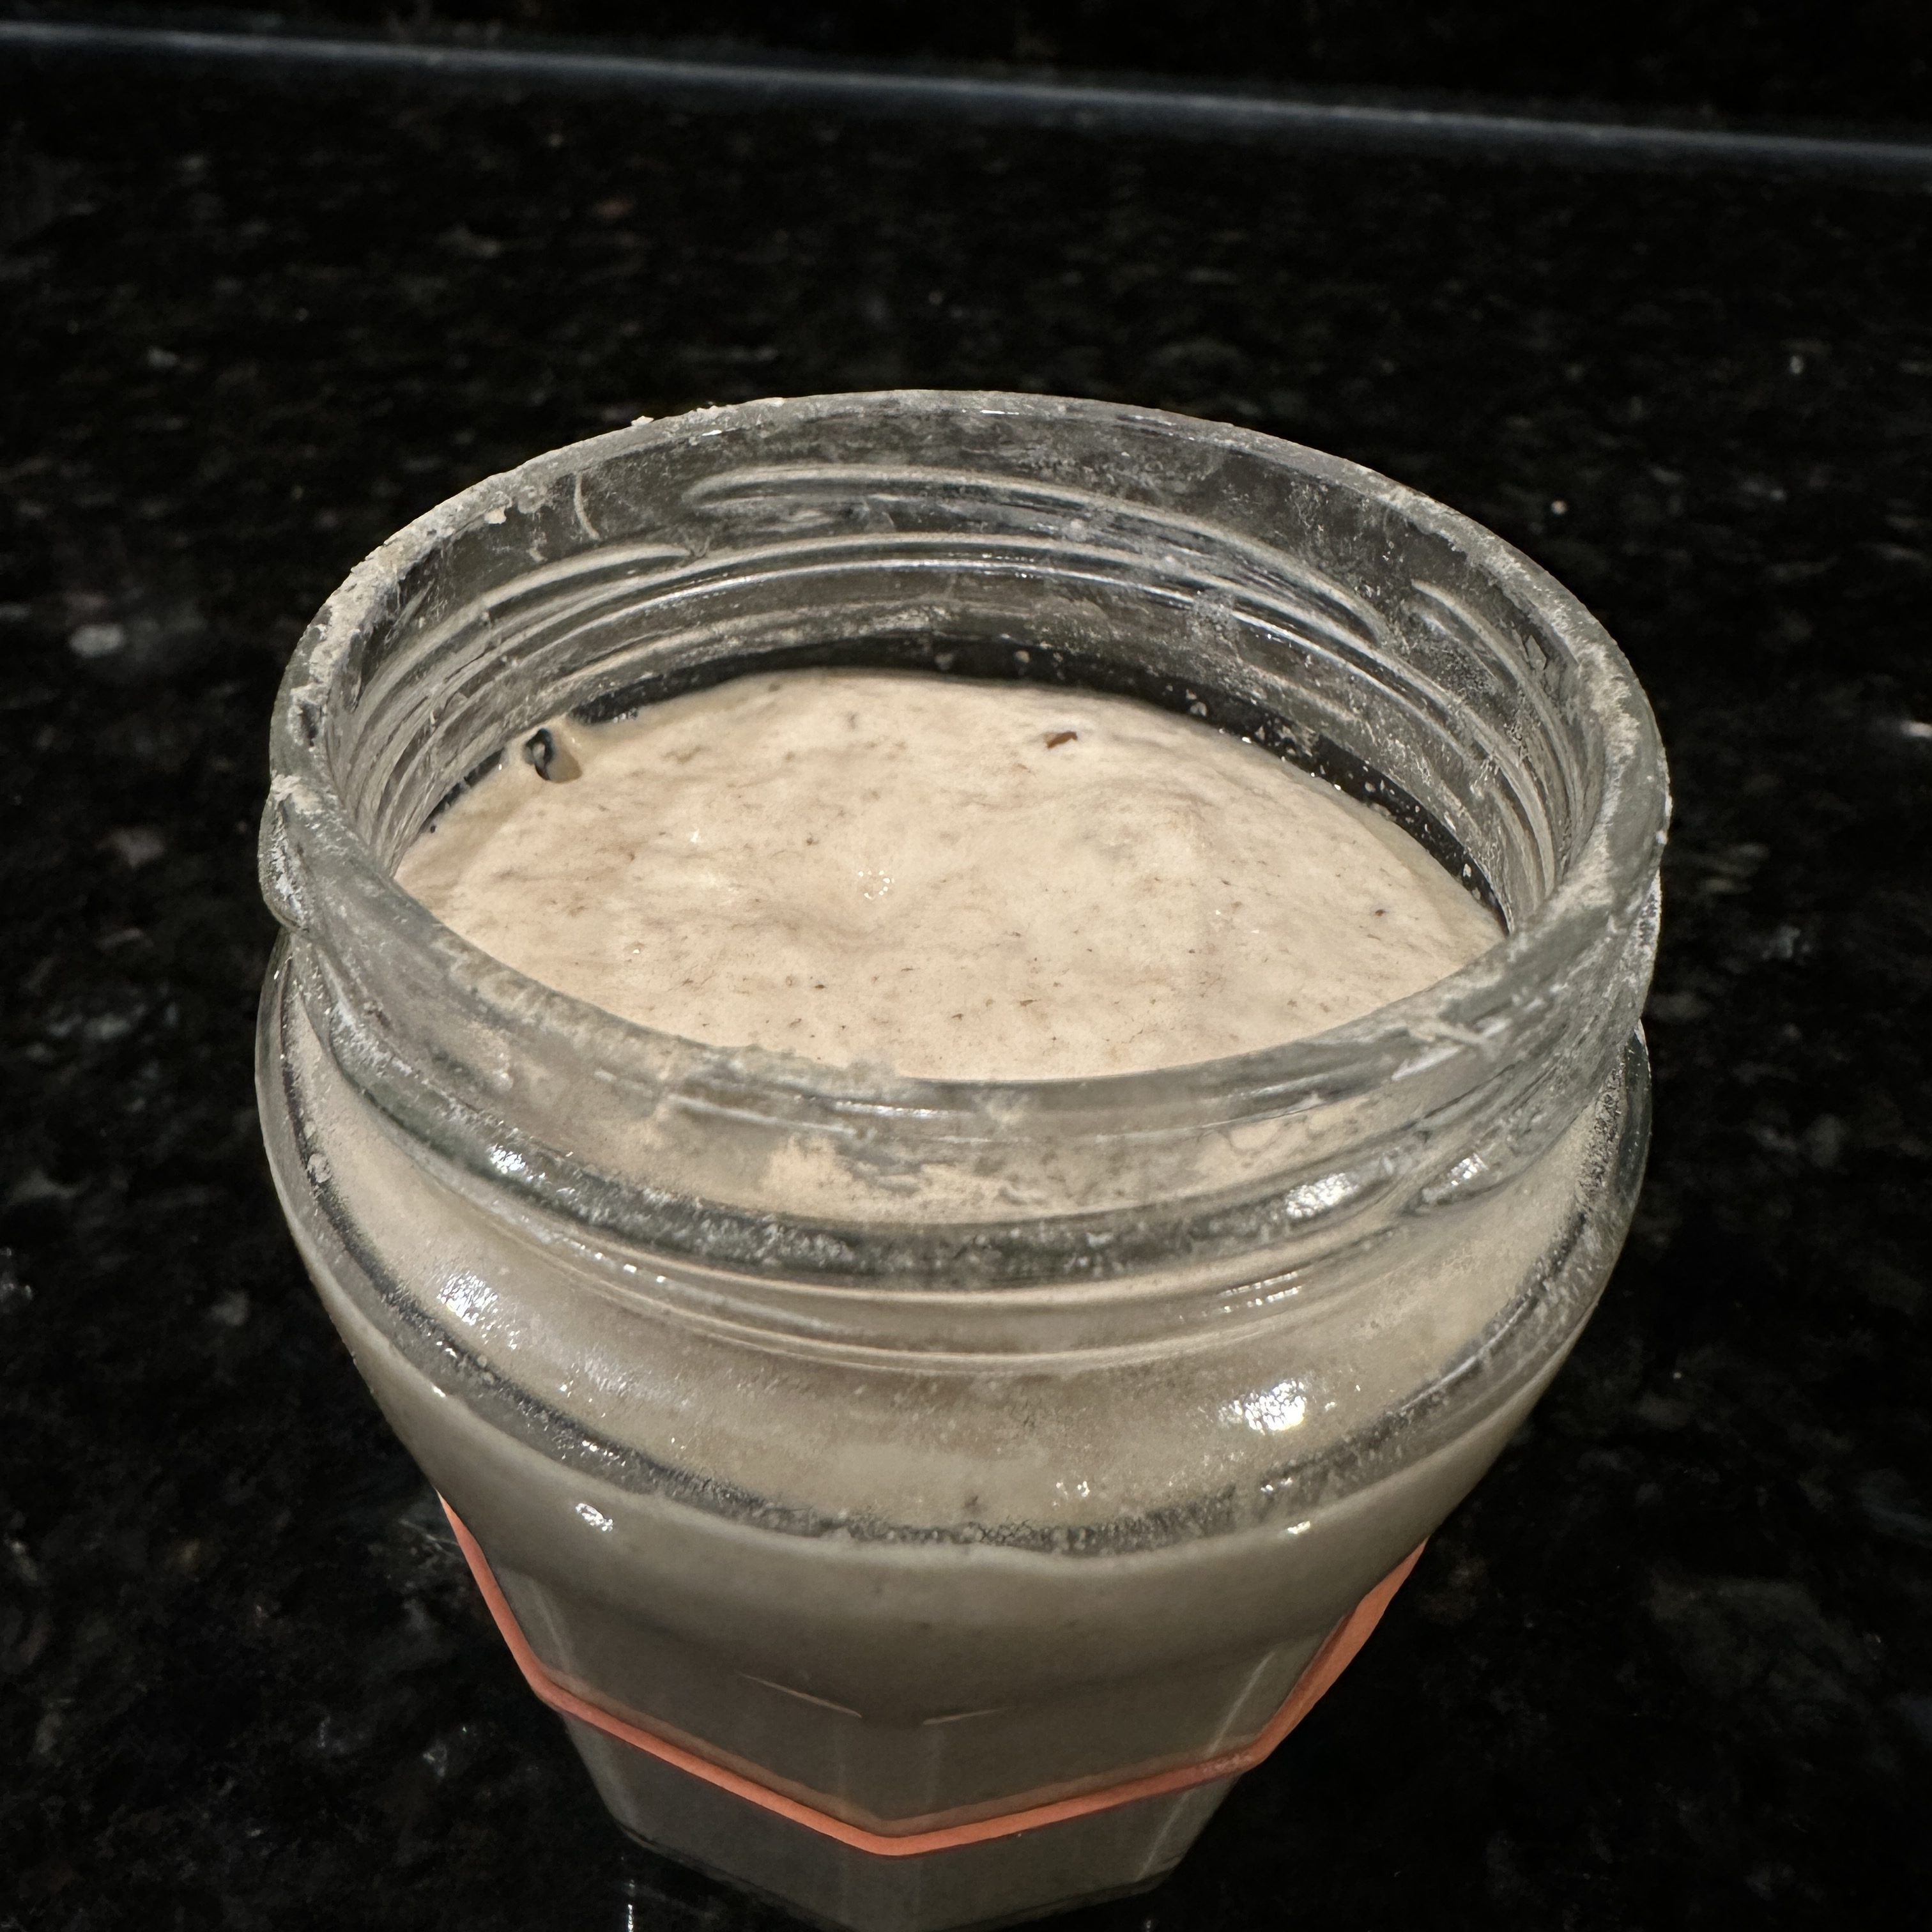
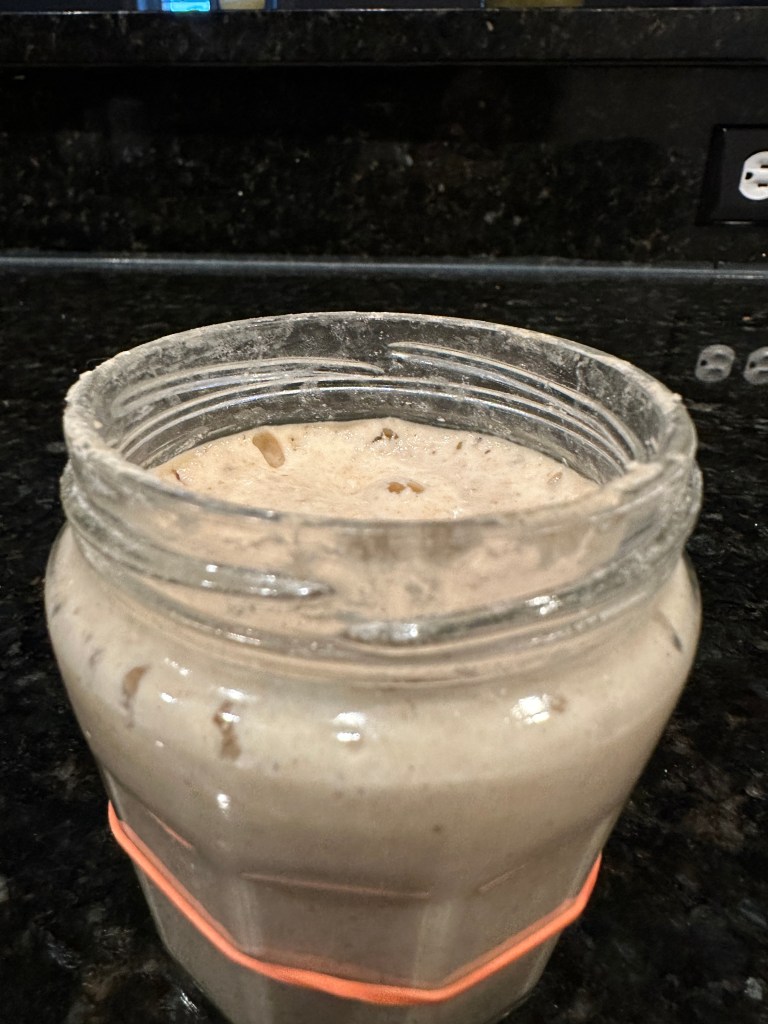
- Let the starter rise for 7-8 hours, and you’ll know it’s ready to shine when it has at least doubled in size, sporting a lovely concave surface. In simpler terms, the height along the sides of the jar should surpass that of the center.
- Here’s another tip: If you maintain a cozy 80°F environment (e.g. the oven with the light on), your starter will rise quicker in about 7-8 hours. If you prefer a cooler 70°F spot, plan for a leisurely 9-10 hour rise. It’s all about working with what suits you best!
8AM – Make Dough
Active time: <10 min
Waiting time: 45min – 1 hour
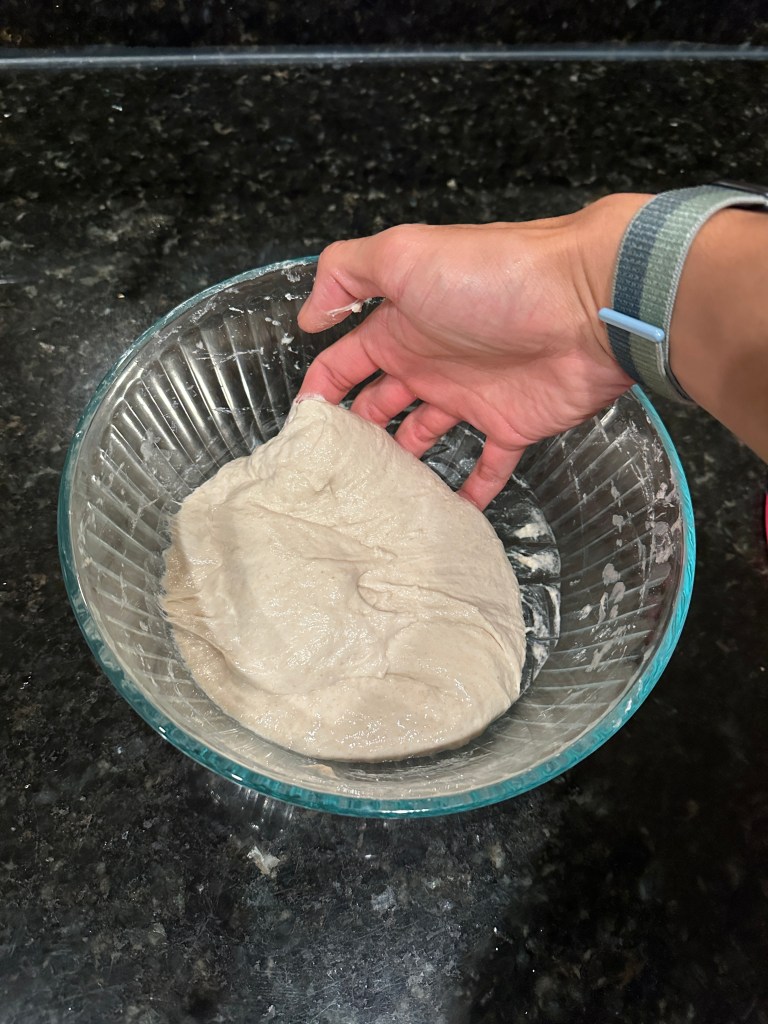
- Grab your mixing bowl and combine the below ingredients. Mix well using the bowl scraper or your hands. The dough will be very sticky at this point, but resist adding anymore water or flour. Tuck the remaining 10g of starter in the fridge. There’s an optional detour here called the “autolyse”. Interested? Check out the experimental notes at the end.
- 250g water
- 72g of starter
- 325g bread flour
- 35g whole wheat flour
- Mix until no flour remains. Cover with a lid and rest for 45min to an hour.
9AM – Add Salty Water
Active time: <10 min
Waiting time: none
- In the separate small bowl or small ramekin, dissolve 7g of salt in 30g of water. If you want to speed things up, lukewarm water works like a charm.
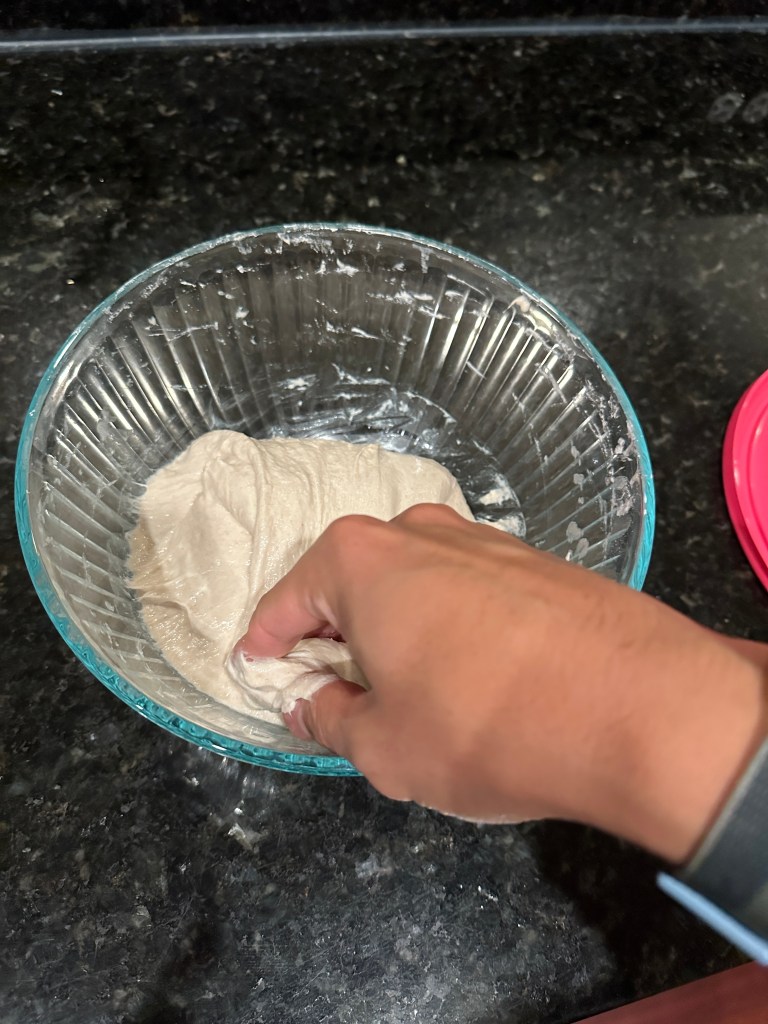
- Once the salty water is ready, it’s time to get hands-on. Mix the saltwater into the dough. You might notice the dough pulling apart, but keep at it. It’ll soon come back together, like old friends reuniting. If there’s any stubborn dough clinging to the sides of the mixing bowl or any dry flour lurking, use that extra liquid to help things along. Cover and prepare for the bulk fermentation phase.
- Could you add the salt water in step 3 and skip an extra mixing step? There is a belief that salt hampers gluten formation which contributes to the structure of your dough. Check out the experimental notes at the end.
9AM-12PM – Bulk Ferment
The bulk ferment or first rise, combined with the stretch and fold method, will helps your dough build both flavor and structure.
Active time: 10-15 min
Waiting time: 3 hours up to 4
- Rest: Cover and let sit for 30 min in your oven with the oven light on.
- Stretch and fold: Get your hands lightly damp. Take hold of the underside of the dough at one quadrant and gently stretch it up and over the rest of the dough. Repeat this fold three more times, rotating bowl a quarter turn for each fold.
- Repeat steps 7 and 8 five more times, for a total of 3 hours.
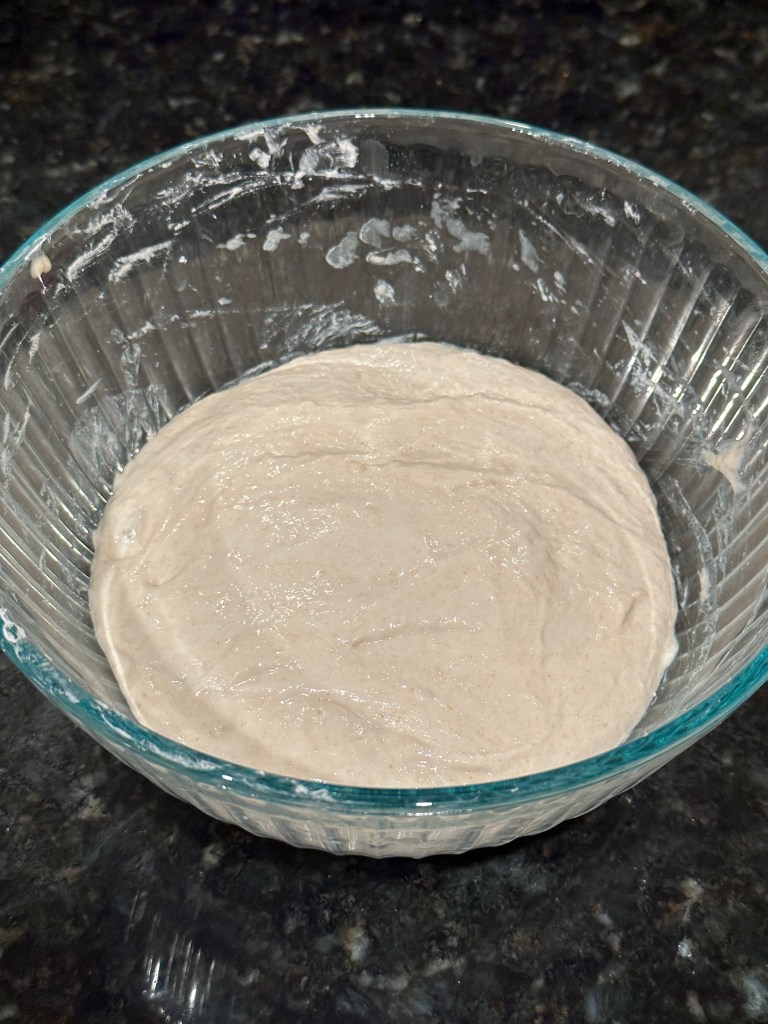
- The dough should be billowy and increase in volume 20 to 30 percent. If not, continue to rest then stretch and fold for up to an hour more.

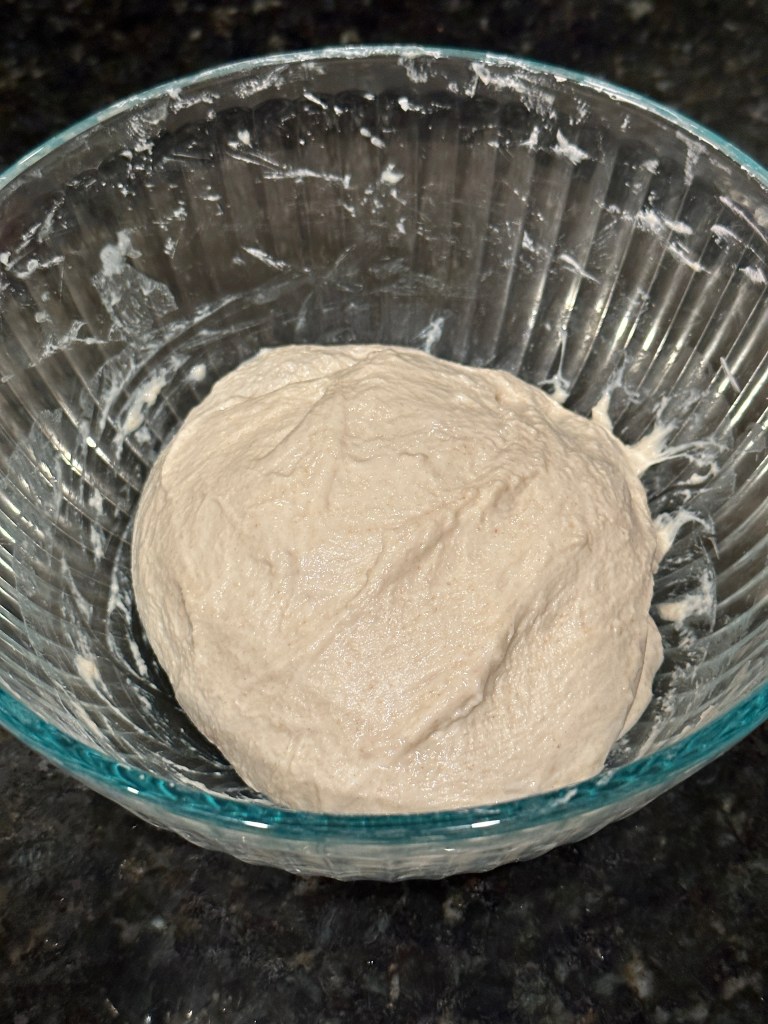
The dough will transform after each pass, becoming less sticky and increase tension.
12PM – Proofing Basket
- Prepare your proofing basket by dusting it with rice flour. If using your proofing basket or banneton for the first time, make sure to pre-season it: get the basket damp and then give it a good dusting with equal parts bread flour and whole wheat flour and let it dry completely. You will want to do this at least an hour before first use.
- A Tupperware and kitchen towel can be used in place of a banneton or proofing basket. Set the kitchen towel (100% cotton) in a large Tupperware at least 7″ diameter. Dust the part of the kitchen towel inside the Tupperware heavily with flour. “Dough” it like this guy on Youtube.
- Rice flour is preferred as it releases your dough from the proofing container much better than a bread+wheat flour mix. I save 5 minutes not having to peel the dough from my banneton. The science: rice flour does not absorb water like bread+wheat flour does.
12:15PM – Shaping
- Transfer dough to a work surface. Prepare a bread+white flour mix for dusting; mix roughly 5g each of whole wheat flour and bread flour for dusting. Dust the top of the dough with a bit the flour mix.
- Now, you’ll be doing the first shaping. Using the dough scraper or your hands, flip the dough so that the flour-dusted top is on the bottom. It will be sticky so do it quick. Like a braid, grab the left edge of the dough and fold it on top of itself roughly 2/3 the way across, repeat with the right side, going back and forth. Once at the bottom, grab the lower half of the dough and fold it in half upwards. Roll so that the new seam faces down.
- Final shape to create dough tension. With the floured side up, cup the dough with both hands and drag the dough toward you 3-4 inches, hold the final position for 1 second. Do a quarter turn without picking up the dough and repeat. Every repetition increases the surface tension. This technique is visually explained here in this Youtube clip.
- Dust the top of the dough with a bit more flour mix. Flip the dough upside down into the proofing basket, seam side up. The top of the dough, or the crust, will sit on the bottom of the proofing basket. Dust the exposed surface with flour. Cover with a cloth and stick it in the fridge to proof overnight.
Day 2
Anytime between 1PM and 10PM
It’s baking day! At this point, your dough has proofed at least 12 hours. I haven’t tried this out but internet sources say you can proof up to two days.
- Place a dutch oven, with lid, in the oven and pre-heat oven to 480°F. Mine takes roughly 15 minutes.
- The proofed dough can be taken straight from the fridge into baking. Carefully take out the super hot dutch oven and remove the lid. Invert the proofing basket and gently drop the dough into the pan, seam-side down.
- Score the bread using a bread lame or sharp knife. I like the lens shape. Score half-inch to an inch deep. Scoring allows the bread to expand.
- Put the lid back on and back in the oven. Bake at 480°F for 25 minutes.
- After 25 minutes, remove the lid and bake for an additional 25 minutes at 450°F until golden brown.
- Remove from the oven and set the bread on a wire rack to cool for minimum 15 minutes before slicing.

Note: Dutch oven hack
If you don’t have a dutch oven or lidded cast-iron pot, try this hack if you have a cast-iron plate like me. You’ll need:
- a cast iron plate
- an oven-safe stock pot that will easily sit on top of the dough
- a large baking tray
- a kettle-full of hot water
Before turning on the oven, set the two oven racks to the bottom two rungs. Pre-heat the oven to 500°F. for 30 minutes with the cast iron place. Take out the cast iron plate and carefully invert the dough directly from the proofing basket onto the plate so that the seam-side is back down. Score the dough. Place the baking tray at the lower oven rack and fill with hot water. Put the cast iron plate with the dough back in the oven and finally invert the stock pot on top of the dough. Do the first 25 minute 480°F bake with the stock pot on. For the second 25 minute 450°F bake, remove the stock pot and the tray of water.
Create your own schedule
Here are the timings you’ll need to know to create your own schedule.
| Step(s) | Step Description | Active vs Waiting Time |
|---|---|---|
| Steps 1 & 2 | Feed starter | 5-10 active minutes at the very beginning then 6-9 hours waiting (6 hours at 80°F and 9 hours at lower temperatures) |
| Steps 3 & 4 | Autolyse | Do at least 1 hour before next steps 5 – 7 “Make Dough”. 5 min active time at the very beginning followed by 45min to 1 hour waiting time. |
| Steps 5 – 7 | Make Dough | Allocate 1 hour. <10 minutes activity and the rest is waiting time. |
| Steps 8 – 13 | Bulk Ferment | Allocate 4 hours to this. Requires activity every 30 minutes. |
| Steps 14 – 19 | Proofing | ~20 min active time at the very beginning and 12-18 hours waiting |
| Steps 20 – 25 | Baking | Allocate 1 hour and 40 minutes. 30min for the oven to preheat, 25 min first bake, 25 min for the second bake, and 15 min rest. |
| Bread is ready! |
Level up your baking
Dutch oven
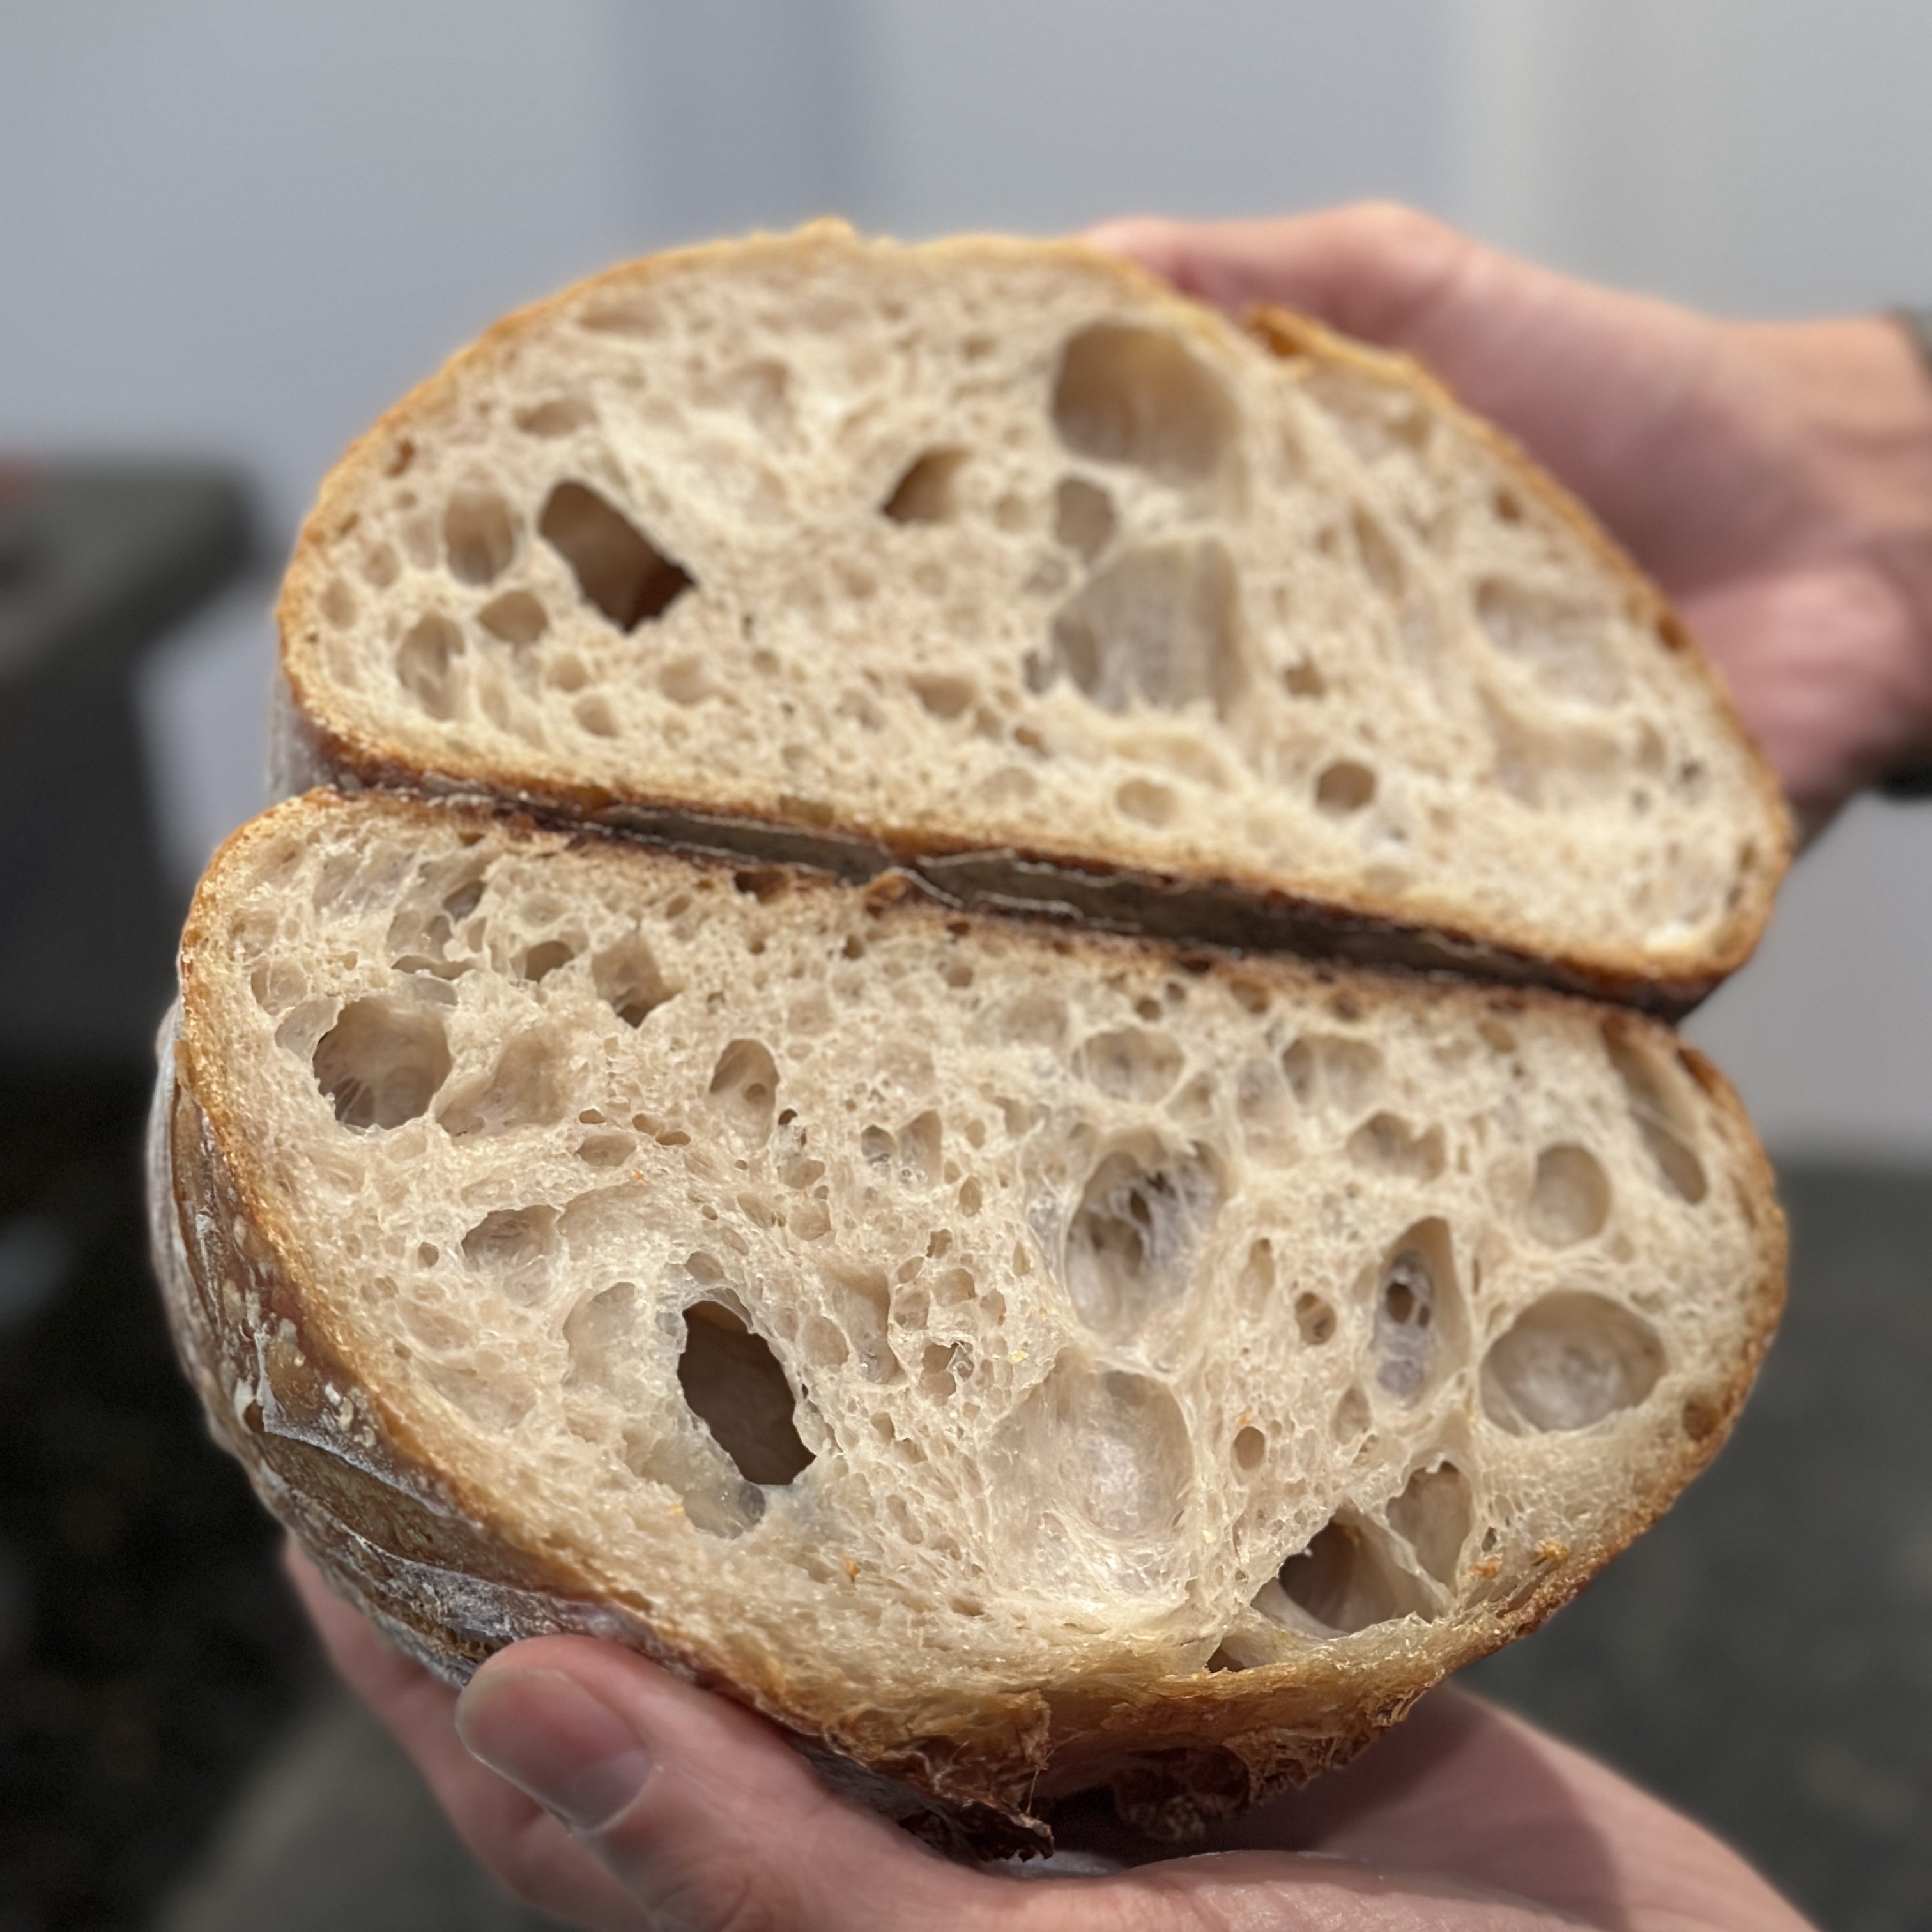
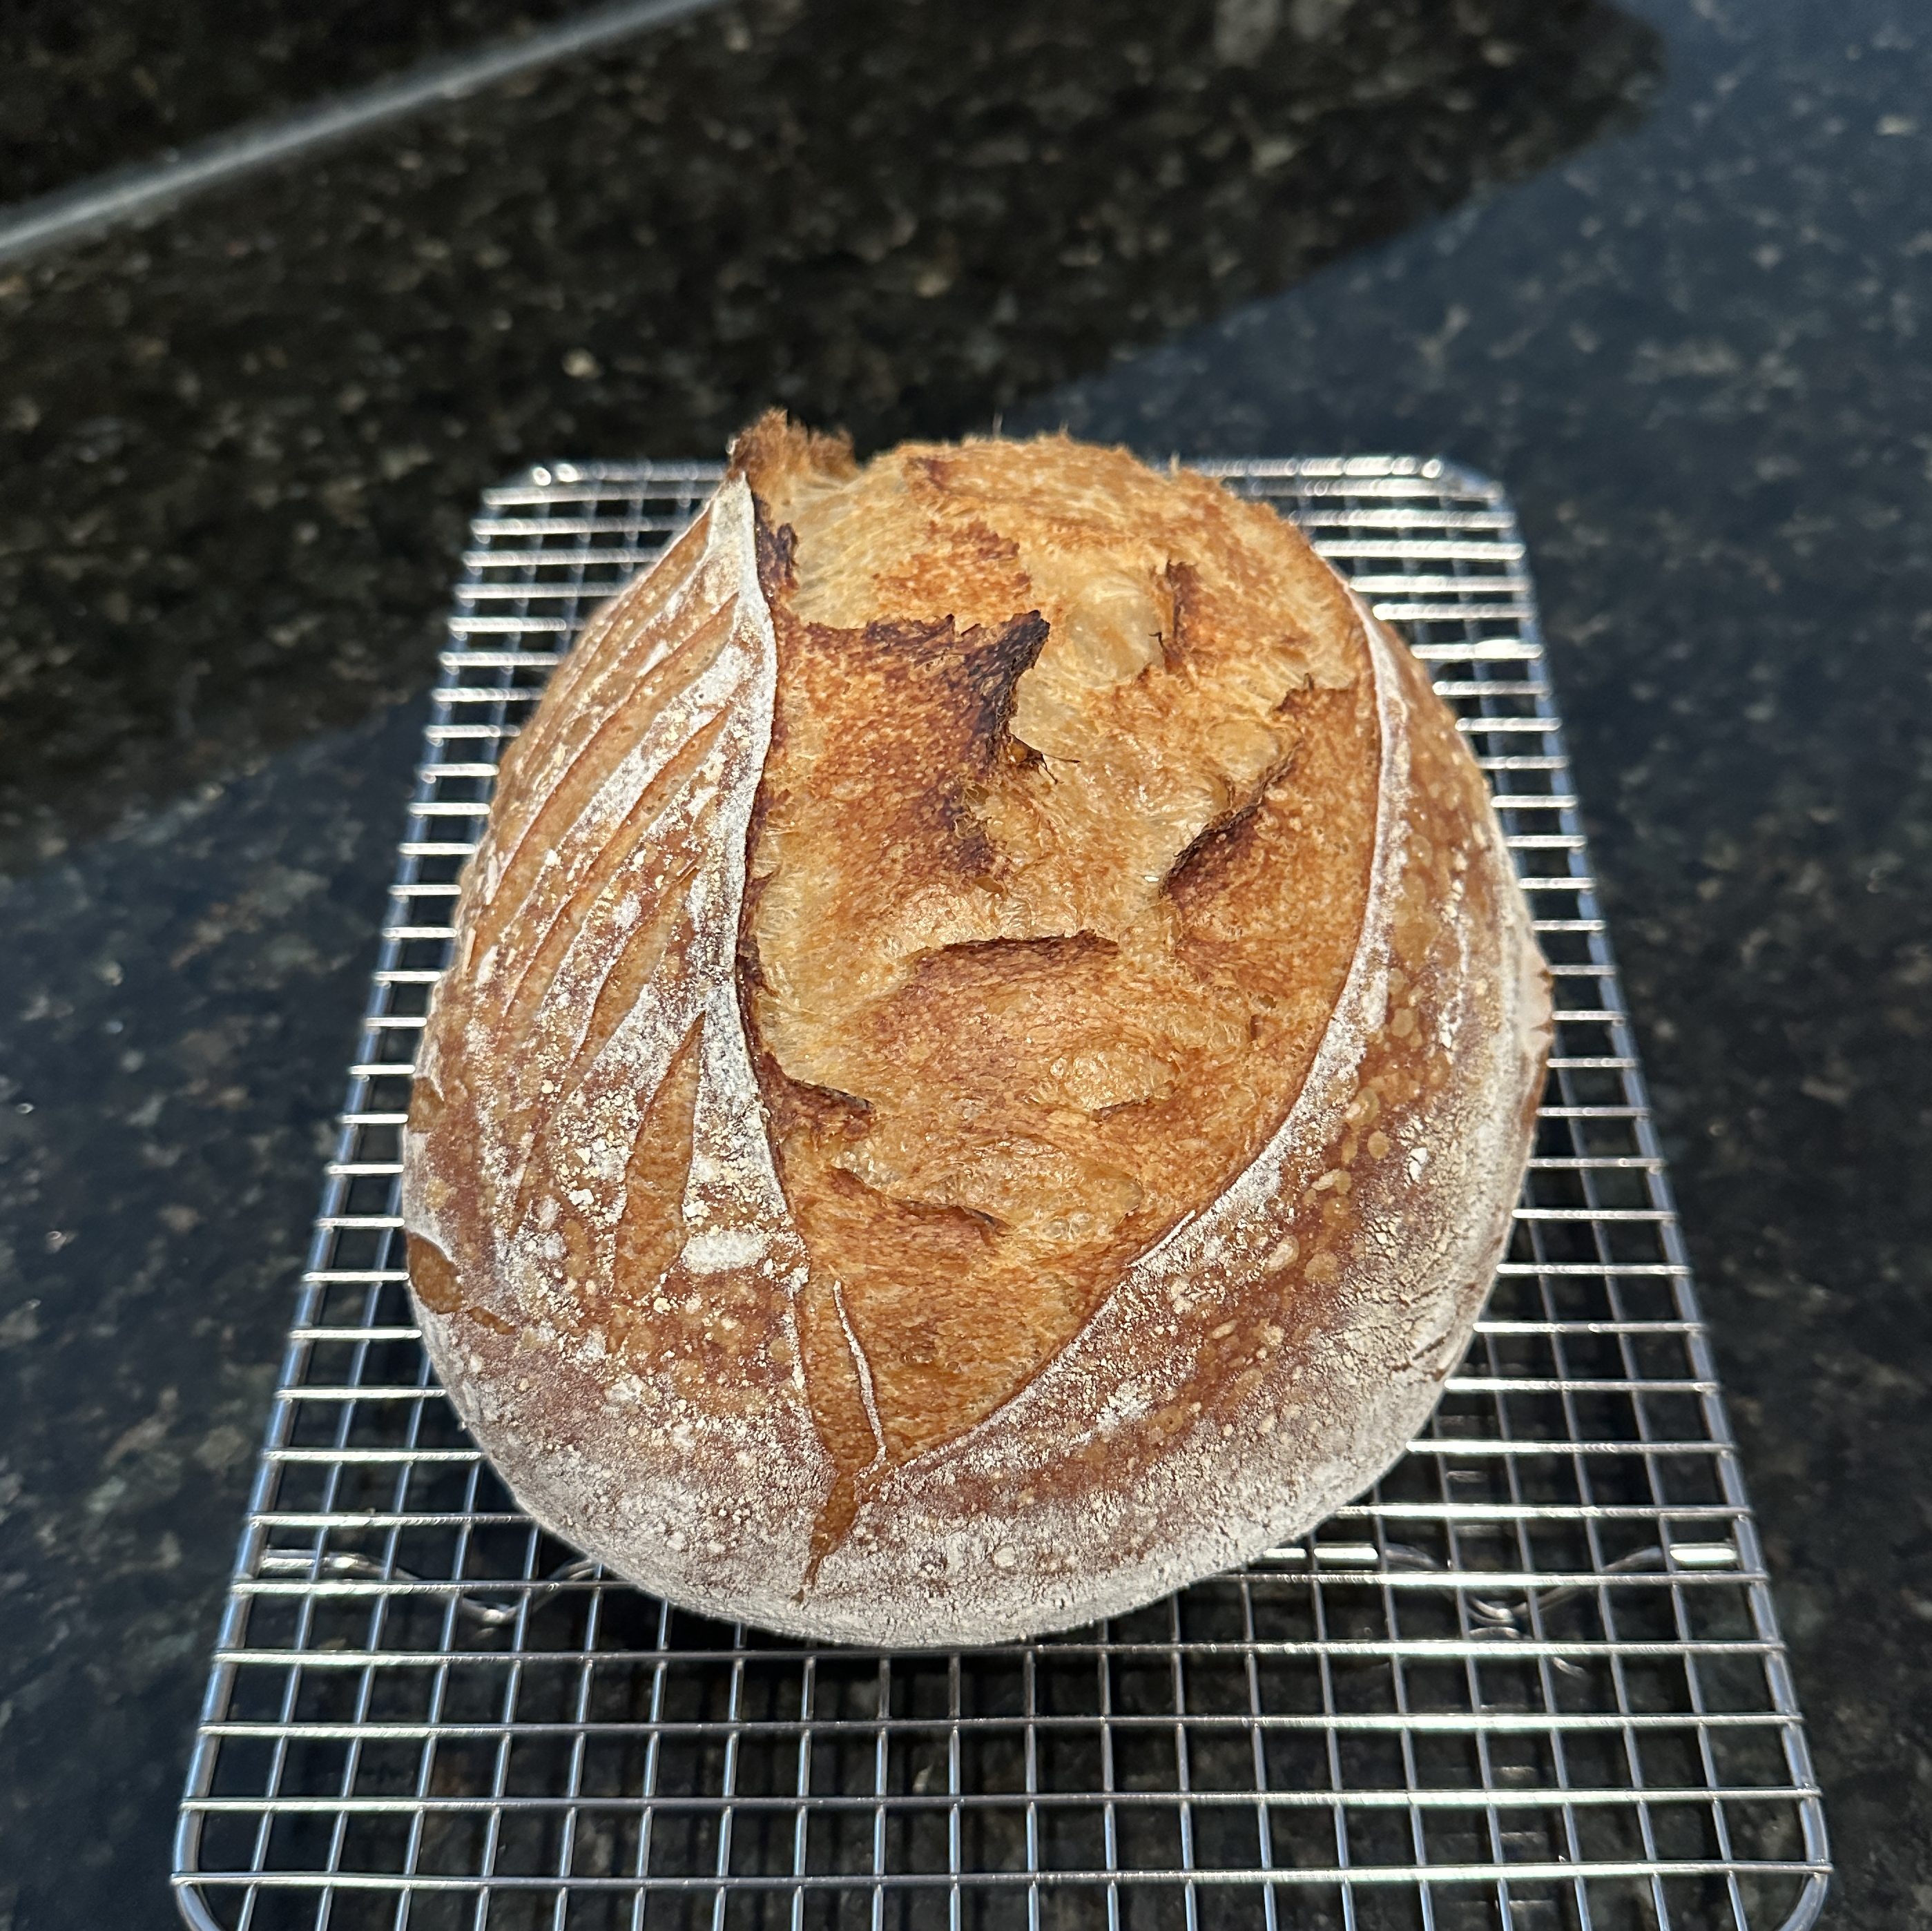
Once you’re comfortable with the steps and baking, it’s time to level up. The dutch oven has changed the look of my sourdough the most and did the most for the “oven spring”, or the vertical rise of the dough during baking. I suspect the walls of the dutch oven keep the dough from spreading outward. A proper banneton has some impact to this as well.
Compare the left, baked on a cast iron using the baking hack, to the one of the right, baked in a dutch oven. The techniques and proportions were the same and cold-proofed overnight in an oval banneton.
Experiment Notes
In my sourdough-making journey, I document several experiments to determine what’s worth it and what’s not. For each experiment, I change one variable and do my best to keep all the other variables constant, things like weight and ratio of water and flour, what type of flour I use to dust the banneton, whether I used a wood-pulp banneton or my round bamboo one, and baking vessel/method. What I could not do is bake two loaves at the same time.
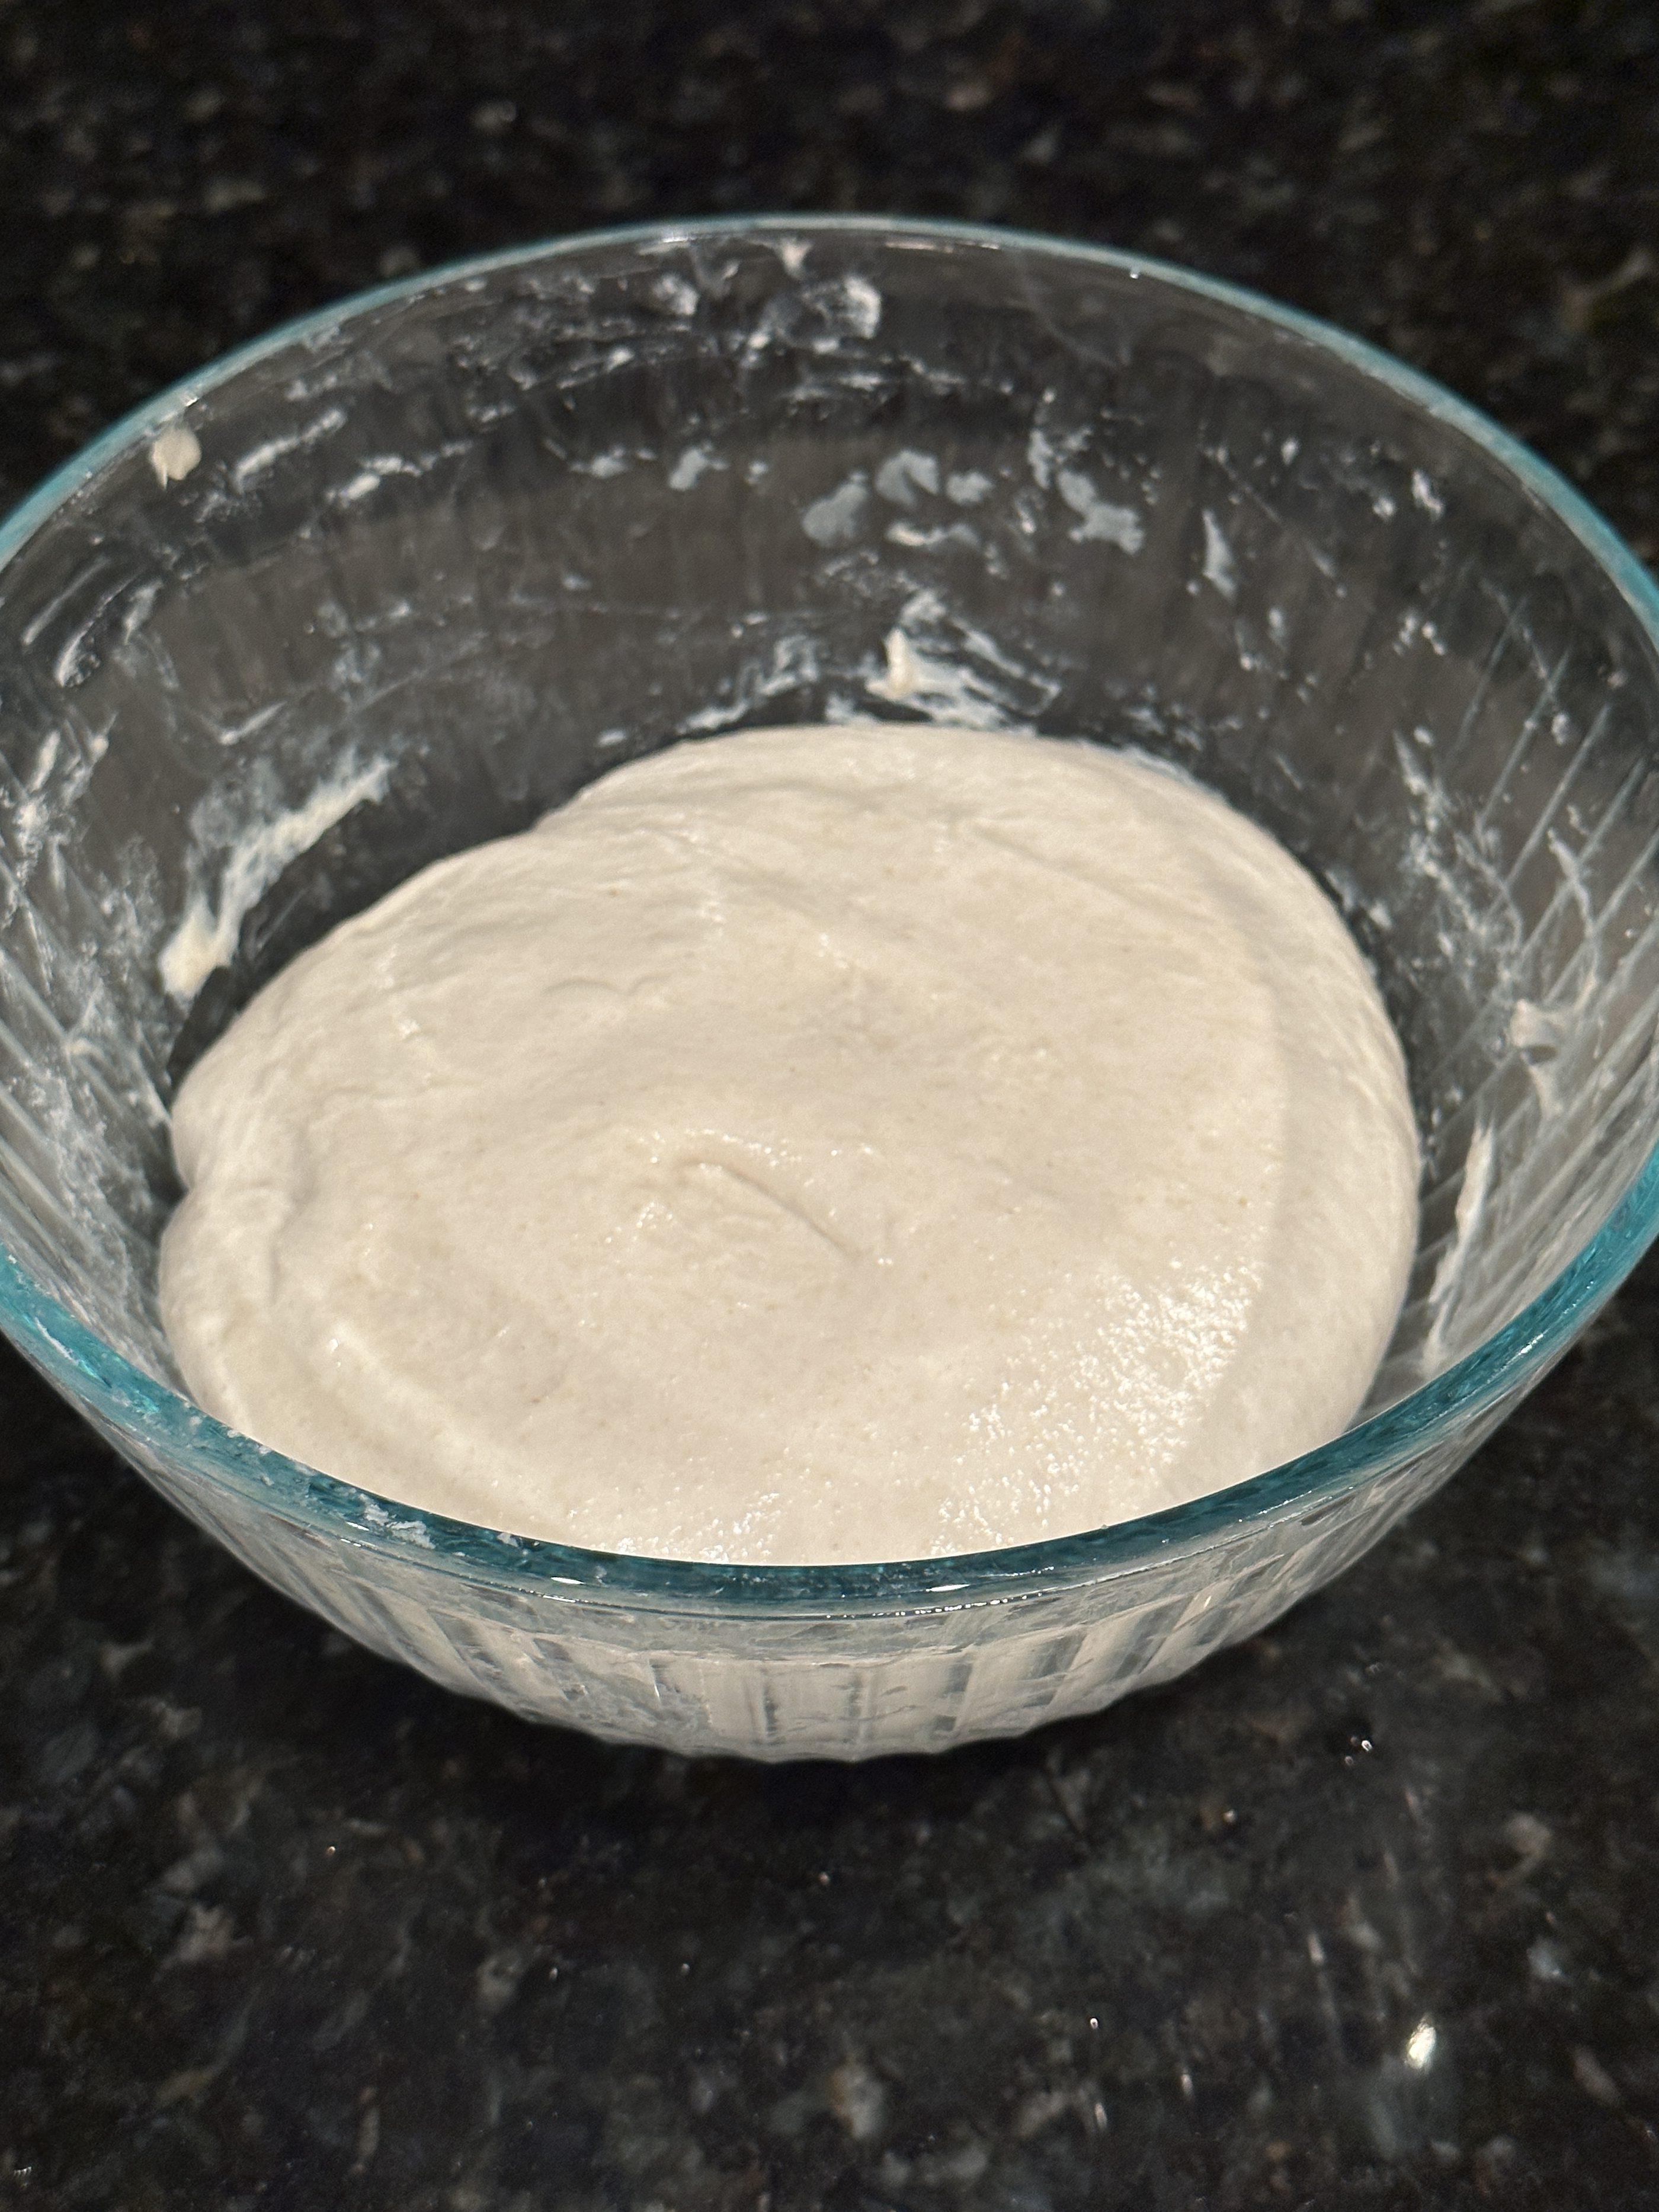
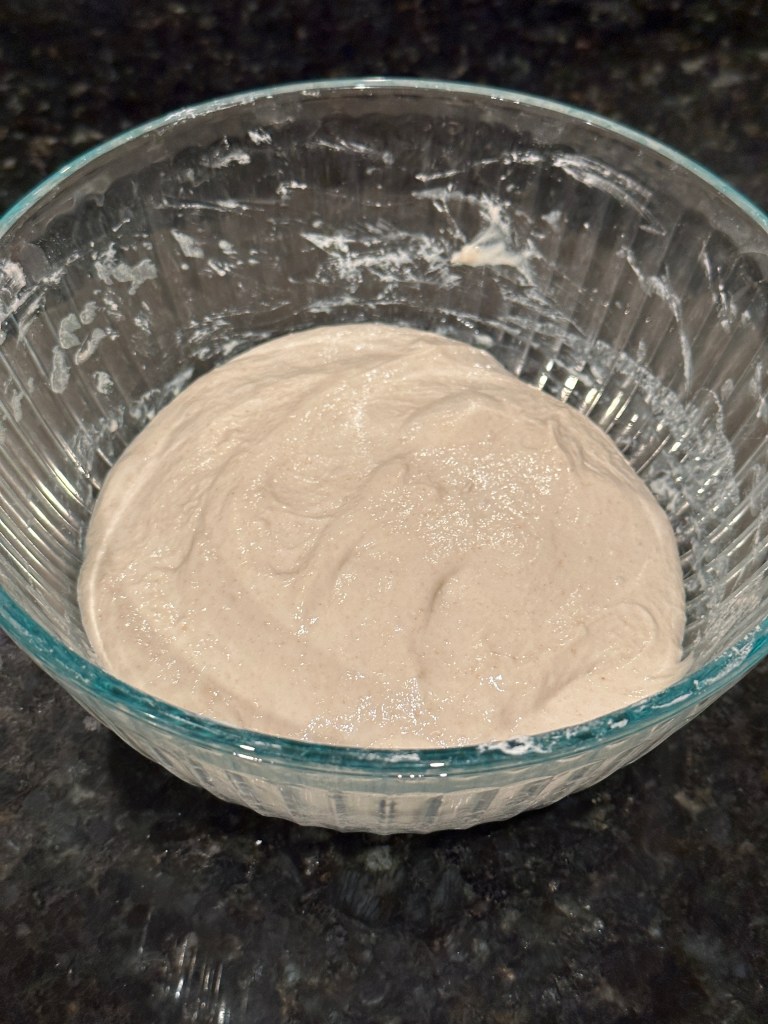
Autolyse
I conducted an experiment to see what impacts the process of autolyse, or the mixing of flour and water at least an hour before adding the starter, has on the final product. In theory, autolyse allows more time for gluten to form, which will give your dough, and final product, better structure. I put this to the test. Based on the two images there is no notable difference between a dough that was autolysed and one that was not. The extra hour and additional mixing step is not worth it.
